Monday, February 18, 2013

Seedlings!!!

It is that time of year again!! Spring is upon us and we have the fever!!! I myself have gotten all 3 of my garden beds prepped and filled with dirt and manure. I have started a few of my colder weather seedlings (cabbage, broccoli, cauliflower and a variety of peas) and some of my indoor container plants as well like my jalapenos!!!

So in honor of spring I wanted to give some alternative/repurposing tips to save you money on seedling starters!!!

Grow your seedlings in eggshells. Yes I said eggshells, crack open your egg when making breakfast and save the shell halves. Fill with dirt then plant seedlings in them! When replanting you don't even have to remove them from the shell. Just break a the shell on the bottom to allow the roots to grow!


Eggshell Cartons. Fill with dirt then plant your seedlings!


Take an old paper towel roll and cut into thirds...

 I make 4 cuts in the bottom as shown

 and fold them over tape it shut.

 When it's time to transplant just remove tape, unfold and place in the ground :)


I hope that these have given you some ideas on how to get your seedlings going without paying the price for those expensive seedling pods :)

Trash to Treasure. Benefits of Coffee Grounds

For those of you who don't know. I am from the great state of Washington. What do you think of when you think of Seattle? Coffee?? Uh huh! hahaha.. well yes I do drink lots and lots and LOTS of coffee. So, why put those coffee grounds into the trash when they are so beneficial to your garden bed?  Don't drink coffee? No problem, just visit your local/favorite coffee shop and I bet you they are more then willing to share those rich grounds with you as well!!


Benefits of coffee grounds:
  • Worms LOVE to feed on coffee grounds and we all know that worms aerate the soil for us, bring on the worms :)
  • Cheap and easy to come by
  • Coffee is a great source for Nitrogen, Calcium and Magnesium, which are extremely beneficial to your vegetable garden. 
  • More tolerable to deal with then manure 
  • Coffee is also a natural slug and snail killer... just spritz the ground with some day old coffee and keep them nasty buggers out of the garden!  

So before you throw out those old coffee grounds STOP no no no.. not in the name of love, and it's not hammer time either! Don't toss em, save em. I place mine in an old butter tub, It doesn't take but about a week for mine to fill.. I also crush up my eggshells and mix them together for a wonderful fertilizer! 


Wednesday, February 13, 2013

Canned Carrots

Canning Carrots


Ingredients:

  • Carrots
  • Boiling Water
  • Salt


Directions:
  • Peel and wash carrots. 

  • Slice to desired length.

  • Boil a pot of of water to fill your jars with

  • Pack jars with carrots leaving 1 inch headspace

  • Ladle boiling water over carrots.

  • Remove air bubbles with a non metallic spatula

  • Wipe rims and adjust rings and lids. 


For pint jars you can add 1/2 tsp of salt per jar or for quarts add 1 tsp per jar.

Process jars in a pressure canner at 10# of pressure for 25 minutes for pints and 30 minutes for quarts.


Recipe from the Ball Blue Book Guide to Preserving

Honey Dew Melon Jelly

Sweet, Simple... Love!


Honey Dew Melon Jelly


Ingredients:


  • 1 Honey Dew Melon "gutted"
  • 6 cups sugar
  • a drop of vanilla
  • 1 box sure-jell pectin


Directions:


  • Heat melon meat over the stove until it has become liquefied and all the chunks are gone.

  • Add Pectin and stir to dissolve

  • Add 6 cups sugar stir and return to boil.

  • Test your jelly by taking a spoon and dip it into the jelly, and let watch the drips of jelly as they fall back into the pot, if they are thicker and drip together like a sheet your jam is ready. If they fall off quick like rain on a window then your need it to simmer some more.


  • Fill hot jars with your jelly

  • Wipe off your rims and adjust your rings and lids.

  • Flip your jars over for 5 min

  • Flip right side up and let set.

  • My jelly didn't take long to set up, let cool and store!!


Cantaloupe Jelly

Afternoon y'all!!!! I went to our local farmers market yesterday to pick up a few items and picked up some fruit. I decided to play around and make up some cantaloupe jelly. It is so delicious!!!! My followers on facebook asked for the recipe in high demand.

Ingredients:
1 cantaloupe scooped out of the shell.
6 cups sugar
1 box pectin

Directions:
Heat cantaloupe meat and reduce to a liquid form.

Add box of pectin, heat till it is dissolved.

Add 6 cups of sugar stir and bring back to a boil.

Use sheeting test, to test your jelly.

Fill hot sterilized jars and adjust rings and lids.

Flip upside side down for 5 minutes then flip right side up and allow to cool!

Enjoy!!!

Monday, February 11, 2013

Our Westport Adventure!

Hey everyone, well it seems to have calmed down around here for the most part, so I thought I would share our weekend adventures with you from this weekend!!

My family loves to go camping, my dad has his motorhome, my older brother has his camper and we all enjoy the outdoors, well most of us do. This weekend we headed out to Westport, WA for the razor clam dig!!!


 My girls and my dad decided to head out on Friday night. Me, Jeromey and my son decided to have some alone time and hang back a night before heading out to the beach.  As you can see, the girls were totally heart broken hahah!


 The next morning, Jeromey, Skyler and myself all got up and got our bags into the car and headed out to the beach, it's about an hour and 1/2 drive out to Westport from where we live. I just have to add, that I did every bit of the driving during this trip.. I didn't want to drive ANYWHERE today!!!

We stopped off at the tower as soon as we go into Westport and met up with my dad and our girls. This is a view from the top of the tower.


 The weather turned out to be very decent for us, it wasn't too cold and we hardly got any rain, a little sprinkle here and there but nothing that us Washingtonians can't handle!!!

Next stop we went to have lunch and stretch our legs. So we headed to the Hearty Galley. Their fresh clam chowder was delicious!!! If you want fish and chips stay tuned though.. cause I have the place for that coming up!!!


Here is my monkey's and my dad in front of our lunchin spot!!


Next we did the tourist thing and walked the shops, most of the shops were closed though, right now it is still Winter for them and do not open for another couple months. We picked up some salt water taffy a few souvenirs and a couple other things that weren't on the list.. I got a gorgeous ceramic tiger that I just love!! It is sitting right next to my bed .. he's my guard kitty ;)


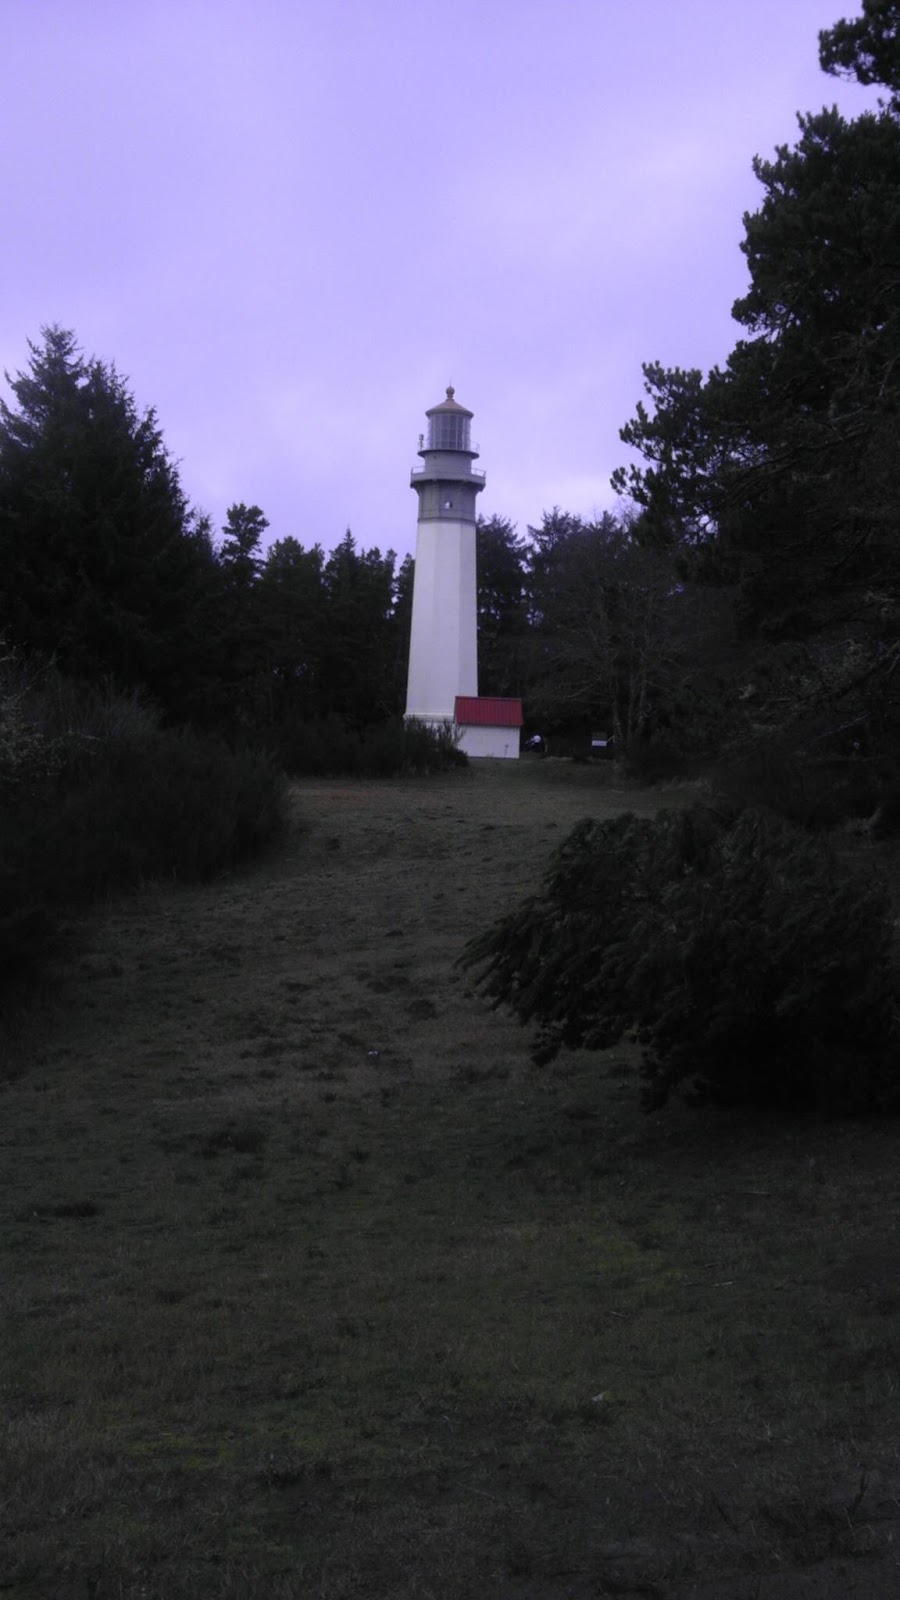
While we were at it we decided to do some sight seeing as well. Here is the old lighthouse.


This one is just of a random house that I thought was very interesting!!


Jeromey couldn't hang and decided to rent me him and my son a hotel room... two queen beds... so my son had his own queen size bed... can you say hog heaven??? This is where he was while I dug up clams, Mr. grumpy was too tired to go to the beach, so him and his dad just chilled in the hotel room while momma brought home the clams :)


 Big Bro getting things done!


 Dad 


 Baby girl Stacia showing us how things are done :)
 Baby Chase (my nephew) 


While on the beach my daughter came across an awesome find!!! Crab anyone?? 


At the end of the day the girls wanted to stay with my dad in the motorhome so me Jeromey and the baby boy decided to go grab some grub!!!! This place has the BEST fish and chips I've EVER had. I ordered the Battered Cod.. OH MY DROOL!!! Yes, it really really really was that good!!!!!!!!!! 


If you ever come to Wesport, WA, go to Bennets Fish Shack... best ever!!


The next morning we went to the Tinderbox and picked up a delicous vanilla latte and they suggested Westwind restaurant for breakfast... boy were they right. 

Westport is a very small town and a fishing town at the that. I love the small town feel and the ladies at WestWind were excellent, their home fried potatoes were to die for!!!! I cannot wait till the end of the month when we get to do this all over again!!!!!!!!!!!


Friday, February 8, 2013

Canned Chili Beans

Hey y'all!! So I scored a deal on some pinto beans at my local grocery store, so of course I had to pick them up! Today I am going to give you my recipe for canned chili beans, you can spice it up however you like but there is my variation!


In my recipe I used quart jars, since I have a large family that I am feeding so most of my meals are done in quart jars.
This recipe calls for a pressure canner as well, so make sure you have all your pressure canner gear.


Chili Beans: ***Ingredients listed below are per each jar!!

  • 2 cups pinto beans per jar, that have been soaked overnight (this should fill your jar a little over halfway)
  • 1tbs garlic powder ( I like a lot of garlic)
  • 1-2tbs chili powder
  • 1tsp cumin 
  • 1/2 tsp cayenne (if you don't like it spicy just add a dash)
  • Boiling water
  • 1/2 cup thick tomato sauce, I used my tomato powder and made my tomato sauce that way.


  • Take your hot sterilized jars and fill them with your beans

  • Add all your seasonings and tomato sauce  

  • Then Fill jars with boiling water leaving 1inch headspace. 

  • Remove air bubbles with a non metallic spatula. 

  • Clean rims with a wet cloth.

  • Adjust rings and lids.


Prepare your pressure canner and can at 10lbs pressure for 90 min.


I like at just above sea level so remember to adjust your pressure per your own elevation.


Let rest for at least 3-6 hours and make sure all have properly sealed, then store


Enjoy y'all!!!